


Our finished attic can be a great space, but sometimes it gets too hot or too cold. We’ve been looking into ways to make it more comfortable year-round, and mini split systems seem like a really good option. They’re different from regular air conditioners because they don’t need ducts, and they can heat and cool a specific area. We’re exploring how to pick the right one and what the mini split attic installation process looks like to make our attic a usable space.
Key Takeaways
- Mini split systems offer a way to control the temperature in your attic space, making it more comfortable and potentially usable.
- Choosing the correct size unit and understanding the installation process are important steps for a successful mini split attic installation.
- These systems can be energy-efficient, helping to save on utility bills while providing targeted heating and cooling.
Understanding Mini Split Systems For Your Attic
When we think about making our finished attics more comfortable, especially during those hot summer days or chilly winter nights, we often look for solutions that are efficient and don’t require a lot of hassle. This is where mini split systems really shine. They’ve become a popular choice for good reason, offering a way to control the temperature in spaces that might be hard to reach with a traditional central HVAC system.
Benefits of Mini Splits in Attic Spaces
Using a mini split in your attic offers several advantages. For starters, they provide zoning capabilities. This means you can set a specific temperature for your attic space independently of the rest of your house. No more overheating in the summer or freezing in the winter just because the attic is a different environment. This targeted control leads to better comfort and can prevent your main HVAC system from working overtime. Another big plus is that mini splits don’t require ductwork. This is a huge advantage for attics, where running ducts can be complicated and costly. The installation is generally less invasive, and the units themselves are pretty quiet.
Energy Efficiency and Cost Savings
One of the most compelling reasons people choose mini splits is their energy efficiency. Unlike older systems that might lose a lot of heated or cooled air through ducts, mini splits deliver air directly where it’s needed. They use inverter technology, which allows the system to adjust its power output based on the cooling or heating demand. This means it doesn’t just blast at full power all the time; it ramps up and down as needed, using significantly less energy. Over time, this can translate into noticeable savings on your utility bills. Plus, by conditioning your attic space effectively, you can also reduce the load on your main home HVAC system, potentially extending its lifespan and further cutting down on energy use.
Here’s a quick look at why they’re a smart choice:
- Independent Temperature Control: Set the perfect temperature for your attic, no matter what’s happening elsewhere in the house.
- No Ductwork Needed: Simplifies installation and reduces potential air leaks.
- High Energy Efficiency: Modern technology means less power consumption and lower bills.
- Quiet Operation: Most units are designed to run very quietly, which is great for living spaces or even just for peace and quiet.
Mini splits offer a flexible and efficient way to manage the climate in your finished attic. Their ductless design and advanced technology make them a practical choice for adding comfort and saving energy.
Planning Your Mini Split Attic Installation
Before we get to the actual installation, we need to do some planning. This part is pretty important, and it’s where we figure out exactly what your attic needs and what kind of mini split system will work best. It’s not a one-size-fits-all situation, so we take our time here.
Assessing Your Attic’s Climate Needs
First off, we need to understand what’s going on in your attic. Attics can get really hot in the summer and surprisingly cold in the winter, right? We look at a few things:
- Insulation levels: How well is your attic insulated? Good insulation means the mini split won’t have to work as hard.
- Sun exposure: Does your attic get a lot of direct sun all day? This will affect how much cooling you need.
- Air leaks: We check for any drafts or places where conditioned air might be escaping. Sealing these up first makes a big difference.
- Existing ventilation: What kind of ventilation does your attic already have? This helps us figure out the best placement for the new system.
We also consider how you plan to use the attic space. Is it just storage, or are you thinking of making it a living area, like a home office or a guest room? This changes how much heating and cooling power you’ll need.
Understanding these specific needs helps us avoid common pitfalls, like installing a system that’s too small and can’t keep up, or one that’s too big and wastes energy. It’s all about finding that sweet spot for your attic.
Choosing the Right Mini Split Unit Size
Once we know what your attic needs, we can pick the right size unit. This is usually measured in BTUs (British Thermal Units). Picking the correct size is key to making sure the system runs efficiently and keeps you comfortable without running up your electricity bill.
Here’s a general idea, but remember, a professional assessment is always best:
| Attic Space (Sq. Ft.) | Recommended BTU Capacity |
|---|---|
| 150 – 250 | 6,000 BTU |
| 250 – 400 | 9,000 BTU |
| 400 – 600 | 12,000 BTU |
| 600 – 800 | 18,000 BTU |
| 800 – 1,000 | 24,000 BTU |
Factors like ceiling height, window placement, and the number of occupants can also influence the BTU requirement. We’ll walk you through these details to make sure we select a unit that’s perfectly matched to your attic’s unique environment.
The Mini Split Attic Installation Process
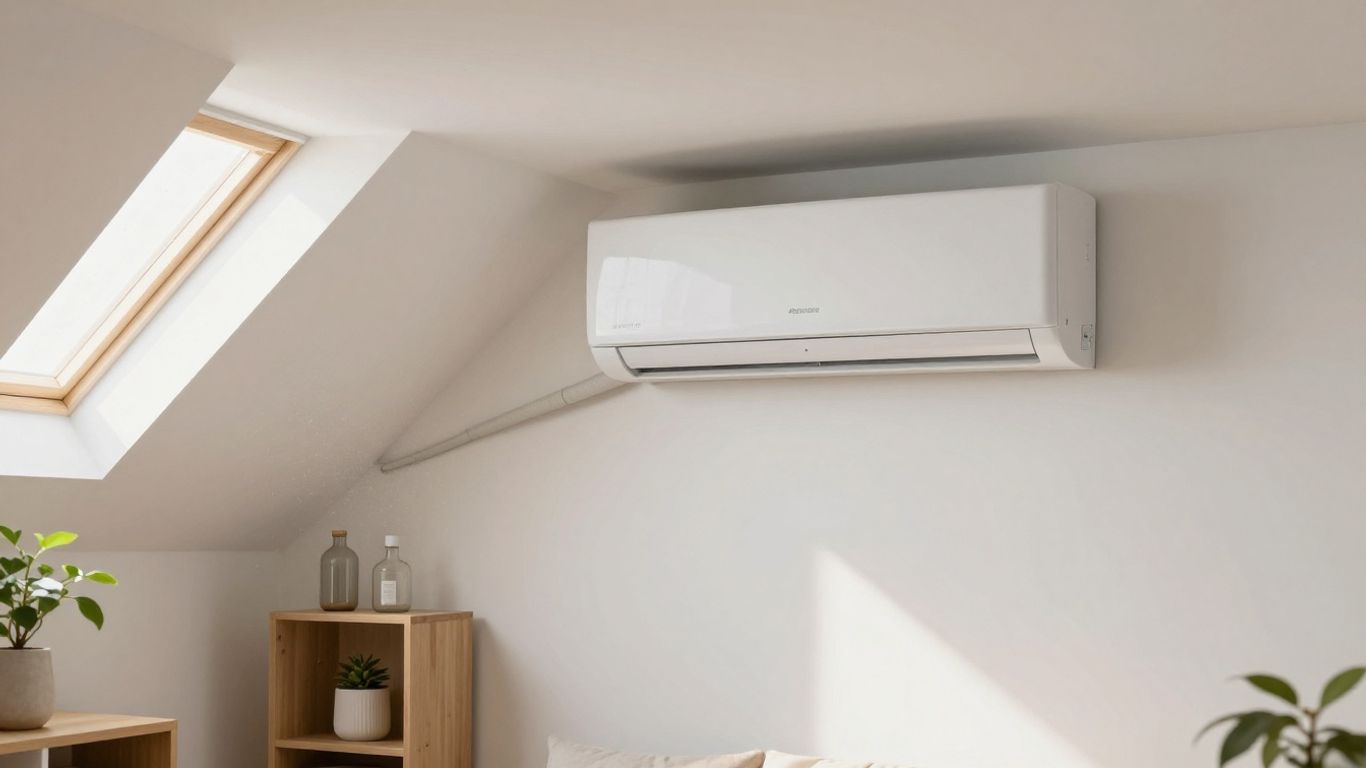
Getting a mini split system installed in your finished attic is a pretty straightforward process when you work with the right people. We aim to make it as smooth as possible for you, from the first call to the final check.
Professional Installation Steps
We break down the installation into a few key stages to keep things organized and efficient. Our goal is always to get your new system up and running with minimal fuss.
- Consultation and Estimate: First off, we’ll come out and take a good look at your attic space. We need to understand exactly what you’re looking for and assess the area to figure out the best approach. We usually provide an estimate on the same day, so you know what to expect cost-wise pretty quickly.
- Customized Installation Plan: Once we’ve got the details, we’ll put together a plan. This includes choosing the right mini split unit for your attic’s specific needs and scheduling the installation at a time that works for you. We think about where everything will go to make sure it works its best.
- Installation and Follow-Up: Our trained technicians will then handle the actual installation. They’re careful and work efficiently to get the system set up correctly. After it’s in, we do a thorough check to make sure everything is working perfectly. We’ll also walk you through how to use it and any basic maintenance it might need.
We believe that a clear and efficient process is key to successful mini split installations. Our team guides you every step of the way, prioritizing transparency and customer satisfaction. With a focus on personalized service, we ensure each project is tailored to your unique needs, resulting in a comfortable and energy-efficient home environment.
Post-Installation Care and Maintenance
After we’re done, your job is mostly to enjoy the comfort! Mini splits are pretty low-maintenance, but a little care goes a long way. We recommend keeping the air filters clean – usually, you can just rinse them out. It’s also a good idea to have us come out for a check-up once a year or so. This helps catch any small issues before they become big problems and keeps your system running at its best. We’re always here if you have questions or need a more in-depth service down the line. Regular check-ups can really help extend the life of your system.
Wrapping Up Your Attic Comfort Project
So, we’ve gone over the basics of picking out the right mini split for your finished attic space. It might seem like a lot at first, but really, it comes down to figuring out how much cooling or heating you need and what kind of system fits your setup best. We’ve seen how these units can make a big difference, turning that unused attic into a comfortable room. Remember, a little planning now means a lot more comfort later. If you’re feeling unsure, don’t hesitate to reach out to professionals. They can help you sort through the options and get everything installed just right. Getting your attic comfortable is totally doable, and a mini split is a solid way to get there.
Frequently Asked Questions
How long does it typically take to install a mini split system in an attic?
We aim to complete most mini split installations in a single day. The exact time can vary depending on the specific needs of your attic space, but our team works efficiently to minimize any disruption to your home life. We’ll give you a clearer idea of the timeline during our initial visit.
Are mini split systems good for saving energy and money?
Yes, mini splits are known for being very energy-efficient. They allow us to control the temperature in specific areas, like your attic, without wasting energy on parts of the house that don’t need it. This smart use of power can lead to lower electricity bills and a more comfortable home overall.
What kind of upkeep do mini split systems need after installation?
Mini splits generally require much less upkeep than older heating and cooling systems. The most important thing is to regularly clean or replace the air filters. We can guide you on simple maintenance tasks, and our team is always available for professional check-ups to keep your system running smoothly for years to come.
